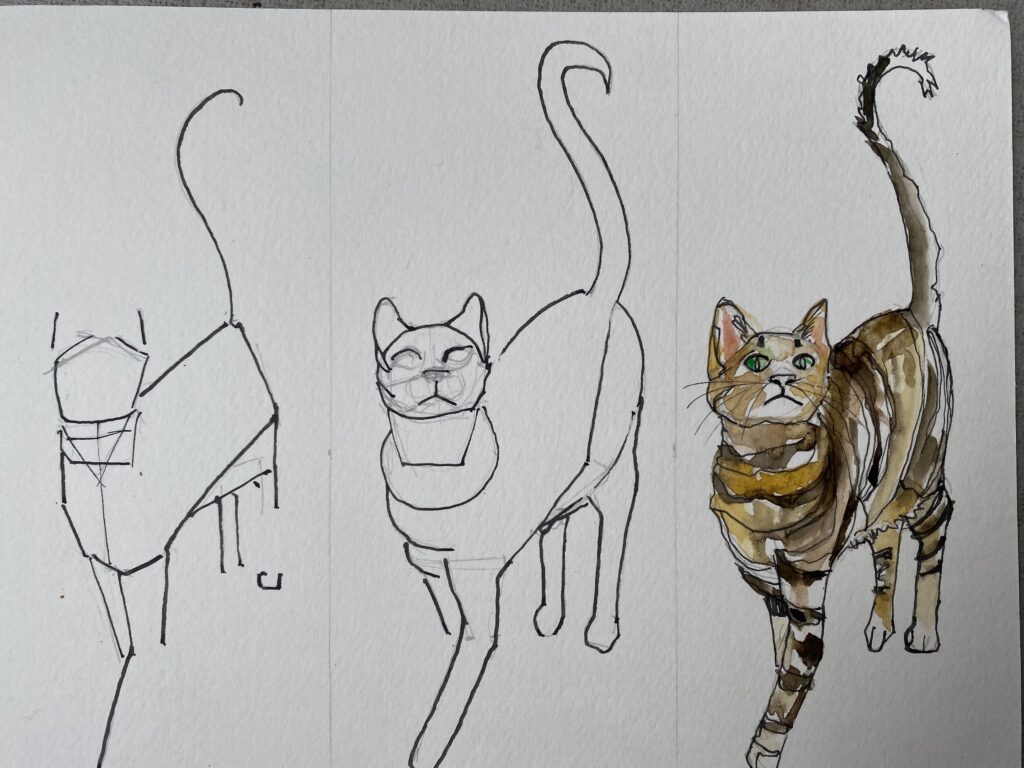
To draw a cat step by step, start by sketching the head and body shape, then add details like eyes, nose, and ears. Gradually outline the legs and tail, and don’t forget to add in the fur texture and any additional markings or patterns.
Remember to use light pencil strokes to start and build up the drawing as you go, erasing any unwanted lines along the way until you have the desired outcome. Drawing a cat can be a fun and creative activity for both beginners and experienced artists.
Whether you’re looking to refine your sketching skills or simply explore your artistic side, learning how to draw a cat step by step can provide you with a great starting point. By following a few easy-to-understand instructions and putting your pencil to paper, you’ll be able to create a realistic representation of a feline friend in no time. This guide will take you through the process of capturing the essence of a cat’s features, from its adorable eyes and nose to its sleek fur and tail, enabling you to create an impressive cat drawing.
1. Understanding The Anatomy Of A Cat
Understanding the anatomy of a cat is crucial when it comes to drawing one step by step. By recognizing the basic shapes, you can accurately depict the proportions and contours of the feline body. Start with an observation of the head shape, followed by the placement of the ears, eyes, and whiskers, which are key features that define a cat’s face.
From there, you can progress to sketching the body and limbs, paying careful attention to how they relate to the initial shapes. Remember to focus on creating smooth lines and capturing the essence of the cat’s form. With practice, you’ll be able to master the art of drawing cats with ease.
2. Gathering Essential Drawing Materials
Gathering the essential drawing materials for your step-by-step cat drawing is crucial. Choose the right pencil and paper that suit your preferred style and texture. Optimal tools for shading and highlighting can make your cat drawing visually appealing. Experiment with different erasers and smudging techniques to add depth and dimension to your artwork.
Create realistic textures by blending and shading with precision. Let your creativity flow as you bring your cat drawing to life on paper.
3. Starting With Basic Shapes And Guidelines
To draw a cat step by step, start by sketching an oval for the head. Then, draw circles for the body and limbs. Next, add lines to define the pose and position of the cat. This will help you accurately capture the cat’s proportions and form.
Pay attention to the placement and angles of the guidelines to ensure an accurate representation. Once you have the basic shapes and lines in place, you can start adding more details and refining the drawing. Take your time and observe the cat’s unique features and characteristics.
With practice and patience, you’ll be able to create a realistic and recognizable cat drawing.
3.1 Including The Facial Features
Drawing a cat step by step involves including the facial features. Firstly, place the eyes and ears correctly to capture the cat’s expression accurately. Then, outline the nose and mouth to give the cat’s face more definition. Lastly, add the whiskers and fur patterns to create a realistic look.
By following these steps, you can master the art of drawing cats with ease. So grab your pencil, prepare some reference photos, and get ready to bring these adorable feline creatures to life on paper. Happy drawing!
3.2 Refining The Body Structure
Refining the body structure of a cat drawing is a crucial step. Start by establishing the torso and tail, ensuring their proportional relationship. Next, focus on creating legs and paws with depth and dimension, giving the cat a realistic appearance.
Incorporate muscle definition and posture to further enhance the lifelike portrayal. By paying attention to these details, you can bring your cat drawing to life. Remember to emphasize the importance of observing real cats to accurately capture their unique characteristics.
Practice and patience are key when refining the body structure, as it takes time to master the intricacies of feline anatomy. Follow these steps, and soon you will be able to create stunning cat drawings that impress and inspire.
4. Adding Realistic Details And Textures
Drawing a cat realistically involves paying attention to its fur characteristics. By studying the texture and patterns of the fur, you can bring your drawing to life. Mastering shading and highlighting techniques will help you create depth and dimension. Incorporating intricate patterns and markings unique to the cat you’re drawing will add even more realism.
Remember to vary your strokes and use different pencil pressures to create different textures. Adding fine details like whiskers and small patches of fur will give your drawing an extra level of authenticity. Keep practicing and observing real cats to improve your understanding of their fur and how to depict it in your drawings.
5. Enhancing Depth And Perspective
Understanding the principles of foreshortening is key in enhancing depth and perspective when drawing. By incorporating shadows and light, you can add depth to your cat drawing, giving it a three-dimensional appearance. Shadows can create the illusion of volume and shape, while light can highlight certain areas, adding definition.
Pay attention to how far objects appear in relation to one another, as this will help create a sense of depth. By mastering foreshortening, you can accurately depict objects that appear closer and larger, while those that are farther away will seem smaller.
Experiment with different techniques to achieve a realistic and visually appealing drawing of a cat. With practice, you’ll be able to bring your feline illustrations to life, capturing their charm and individuality.
6. Bringing Your Cat Drawing To Life
Bringing your cat drawing to life is all about adding expression and emotion to the face. By capturing the cat’s unique personality, you can make your drawing more realistic and engaging. Pay attention to the eyes, nose, and mouth, as these features greatly influence the cat’s expression.
Consider whether the cat should appear happy, sad, curious, or mischievous. Additionally, incorporating environmental elements and context can enhance the overall storytelling of your drawing. Think about where the cat might be, whether it’s indoors or outdoors, and what objects or scenery could be included to set the scene.
By carefully considering these details, you can take your cat drawing from a simple sketch to a vibrant, lifelike representation. So, get ready to give your cat that extra touch of personality and watch it come alive on the paper.
7. Exploring Different Cat Breeds
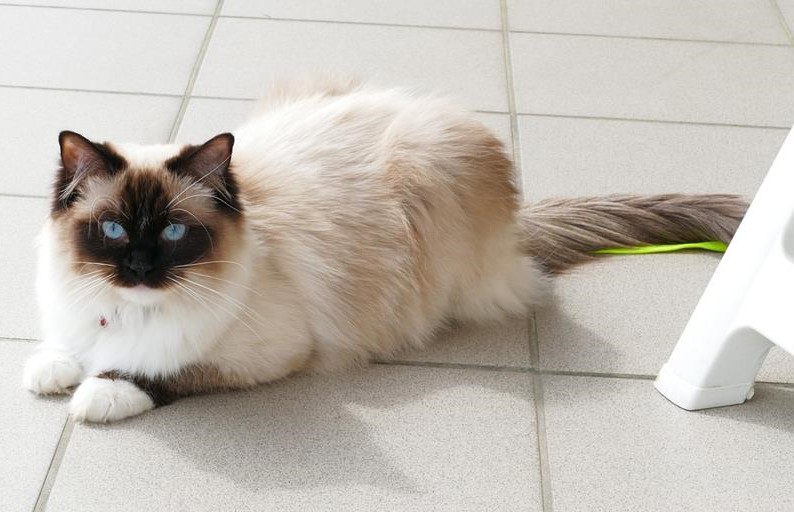
Recognizing distinct breed characteristics is crucial when drawing different cat breeds. Tailoring your drawing to specific breeds allows you to capture their unique features accurately. Whether it is the long, elegant body of a Siamese or the round face and fluffy coat of a Persian, each breed has its own defining characteristics.
By observing and studying these traits, you can ensure that your drawings are realistic and true to each breed. It’s fascinating to see the diversity of feline sketches and how each breed has its own charm and beauty. The ability to capture these differences in your drawings will not only make your artwork more appealing but also showcase your understanding and appreciation for the variety within the feline world.
8. Practicing And Refining Your Skills
Engaging in regular drawing exercises helps you practice and refine your cat drawing skills. Experimenting with different styles and techniques allows you to explore new possibilities. Seeking inspiration from other artists and resources can spark creativity and provide valuable insights.
By consistently putting in time and effort, your cat drawings will gradually improve. Remember to challenge yourself and step out of your comfort zone. Keep an open mind and be willing to try new approaches. Practice makes perfect, so don’t be discouraged if your initial drawings don’t meet your expectations.
The important thing is to stay motivated and keep practicing. Enjoy the process and embrace the learning journey as you develop your cat drawing skills.
9. Showcasing Your Feline Artwork
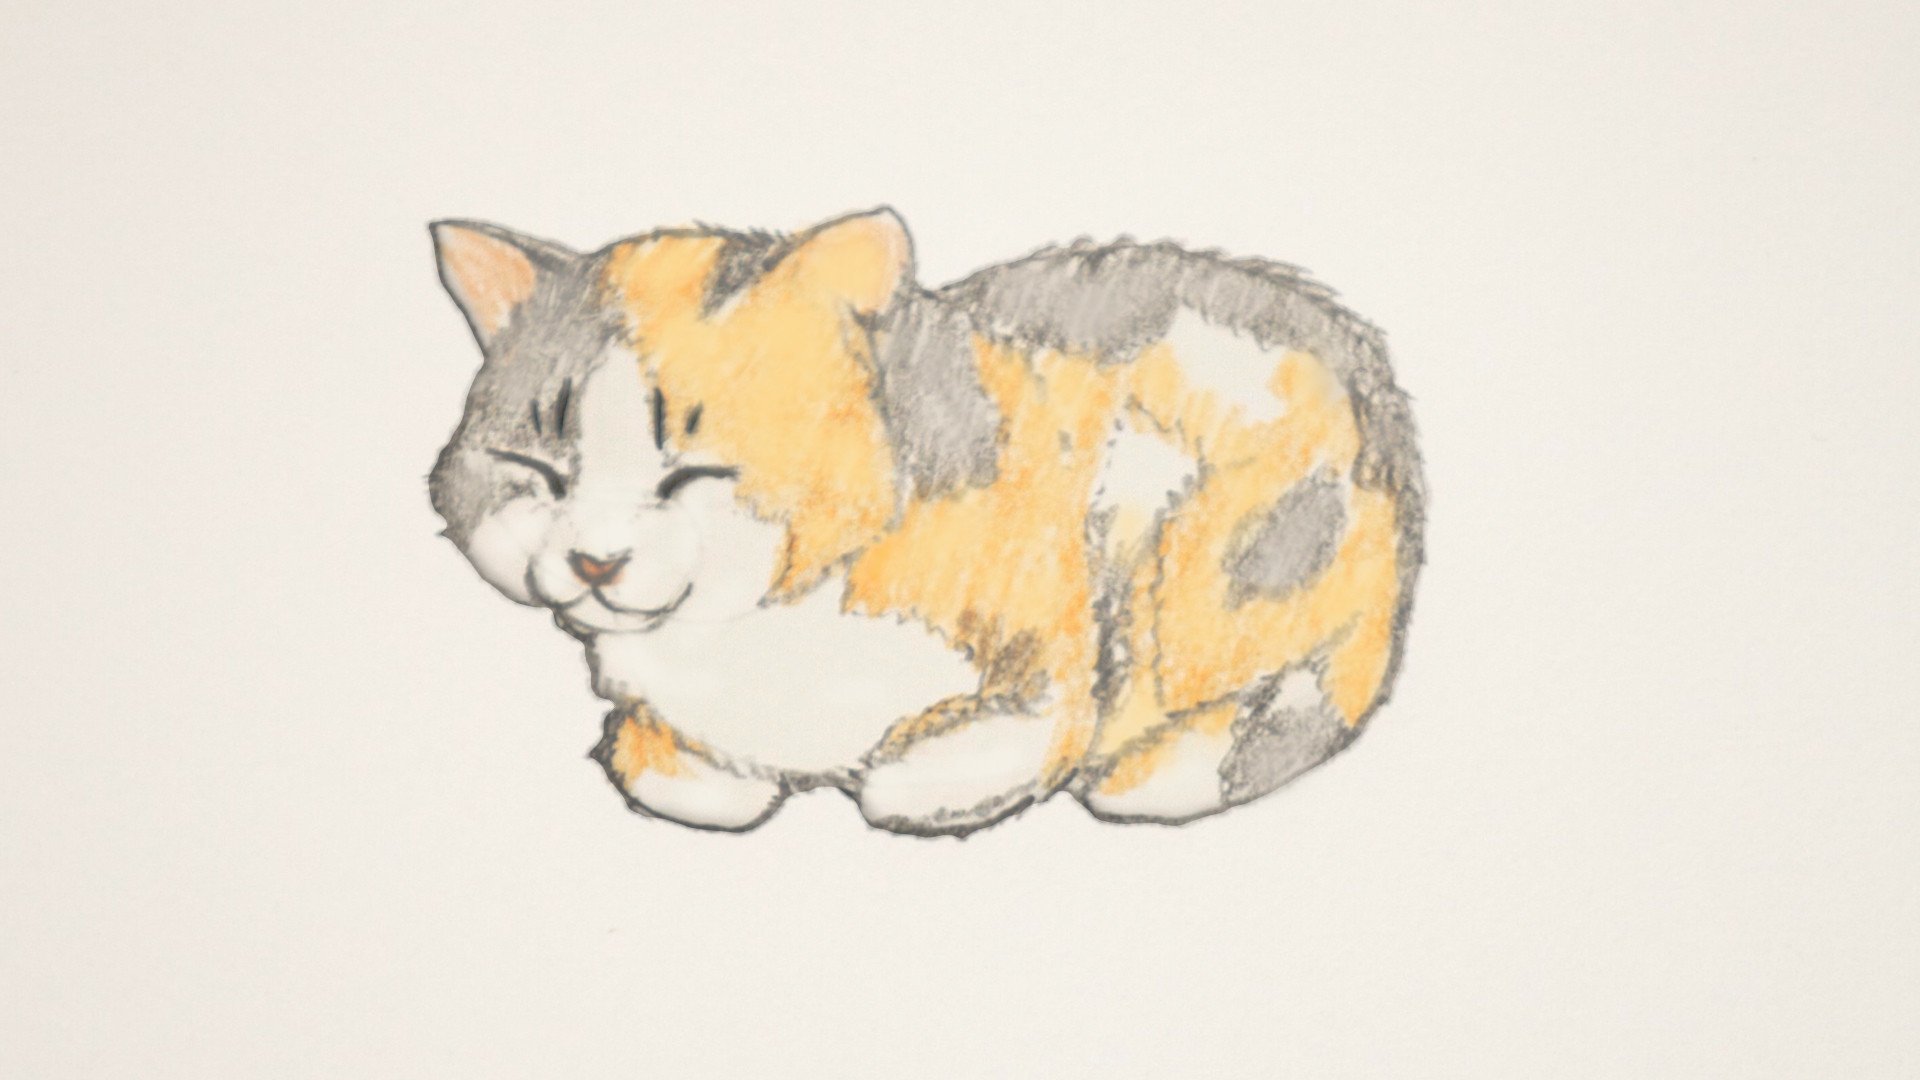
Drawing a cat step by step is an enjoyable and creative process. Once you have completed your feline masterpiece, it’s time to showcase your artwork. In today’s digital age, there are various ways to display and share your drawings. Online platforms, such as social media, offer a vast audience and an opportunity to gain exposure.
You can create accounts on popular social media sites and share your artwork regularly. Additionally, consider participating in art competitions and exhibitions. These events provide a chance to network with other artists and art enthusiasts, as well as gain recognition for your talent.
Whether online or in galleries, displaying your cat drawings allows others to appreciate your artistic skill and creativity. So, take advantage of the numerous outlets available and let your feline artwork be seen by the world.
Credit: emilysnotebook.co.uk
Frequently Asked Questions For How To Draw Step By Step Cat
How Do You Draw A Cat Step By Step?
Drawing a cat step by step is easier than you think. Start by sketching the basic shapes like circles and ovals for the head and body. Add details like the ears, eyes, and nose. Then, outline the body and fill in the fur patterns.
Finally, erase any unnecessary lines and add color if desired.
What Are Some Tips For Drawing A Realistic Cat?
To draw a realistic cat, observe real cats and study their proportions and features. Pay attention to details like the shape of the eyes and the position of the ears. Use shading and highlights to add depth and volume to your drawing.
Practice sketching different cat poses to improve your skills.
What Are The Basic Materials Needed For Drawing A Cat?
All you need to start drawing a cat is a pencil and paper. A set of drawing pencils with different levels of hardness can help achieve various tones and textures. You can also use an eraser to correct any mistakes and a ruler to ensure accurate proportions.
As you progress, you can explore using colored pencils or markers for more vibrant drawings.
Conclusion
To sum up, learning how to draw a cat step by step can be an enjoyable and rewarding experience for both beginners and experienced artists. By following these simple instructions, you can develop your skills and create realistic and captivating cat drawings.
Remember to start with basic shapes and gradually add details to achieve the desired effect. Practicing regularly will enhance your artistic abilities and enable you to personalize your cat drawings, adding your own unique style and creativity. Whether you are using traditional mediums like pencils and paper or digital tools, the key is to be patient and persistent.
With time and practice, you will be able to confidently draw cats with ease, capturing their grace and charisma. So, grab your art supplies and start exploring the world of cat drawing!