To make a ceramic cat water fountain, you’ll need clay, sculpting tools, and a clear glazing coat. Begin by hand-shaping or throwing your ceramic design on a potter’s wheel.
Creating a cat water fountain from ceramic can be both a delightful DIY project and an elegant addition to your pet’s daily life. Providing a continuous flow of water, this fountain entices pets to drink more, ensuring their hydration—an essential aspect of feline health.
The crafting process calls for patience and attention to detail, culminating in a functional and decorative piece that blends seamlessly with home decor. This hands-on endeavor allows customization options, from the size and shape to the colors and patterns, matching the unique style and personality of your cat. Whether you’re an experienced potter or a novice eager to delve into ceramics, building a water fountain from scratch is a rewarding way to engage in a creative outlet while enhancing your pet’s wellbeing.

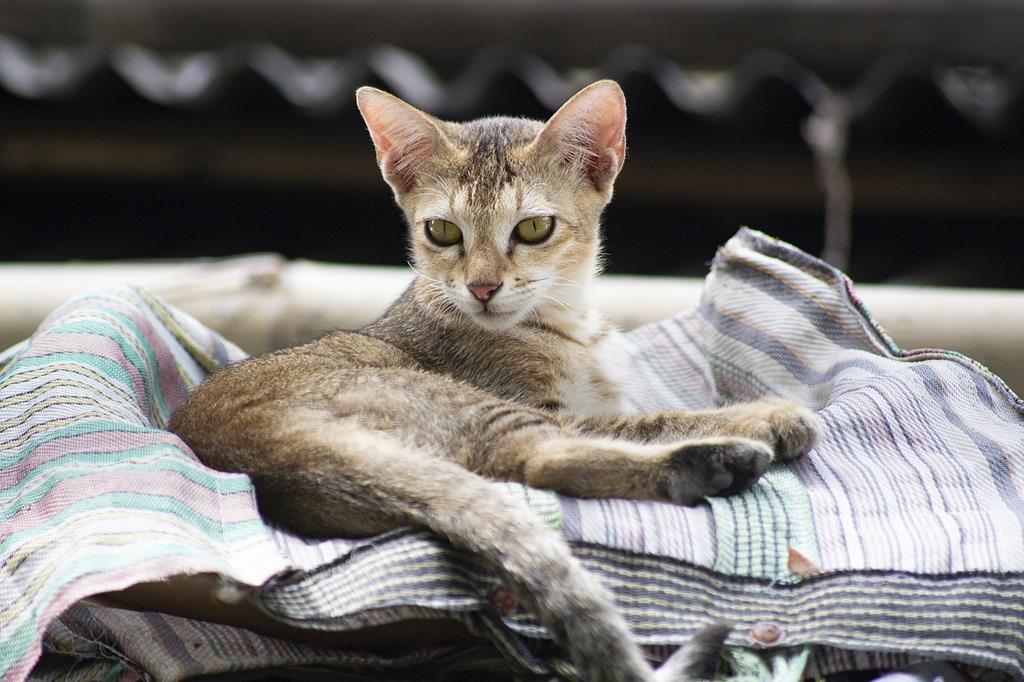
Credit: www.walmart.com
Ceramic Water Fountains: An Intro
Ceramic water fountains blend art with function in your home. They provide a constant stream of fresh water for your cat. They’re not only practical but also stylish. Ceramic fountains are easy to clean and keep the water cool.
Why Choose Ceramic?
- Durability: Ceramic is tough and lasts longer.
- Hygiene: Non-porous surfaces prevent bacteria growth.
- Design: Elegant styles match any home decor.
- Weight: Heavy enough to prevent tipping and spilling.
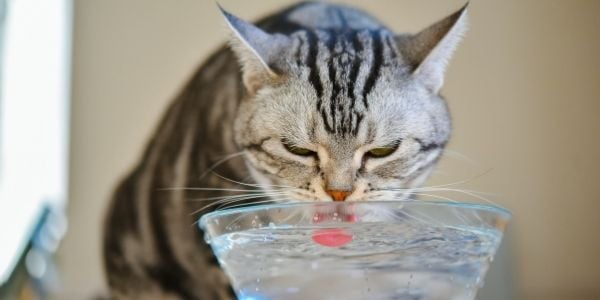
Benefits For Your Feline Friend
Fresh Water: Cats prefer running water for its freshness.
Health: Encourages drinking which supports kidney function and health.
Enjoyment: Gentle flowing water entertains and relaxes feline companions.
Gathering Your Tools And Materials
Welcome to the creative journey of crafting your own ceramic cat water fountain! A harmonious blend of functionality and artistry, this project promises a unique addition to your home. Before diving into the sculpting process, it’s crucial to gather the right tools and materials. Proper preparation sets the stage for a smooth creation process and a beautiful result. Let’s start by detailing what you’ll need for this DIY adventure.
Essential Tools For Crafting Ceramics
Every skilled craftsman begins with the right set of tools. In ceramic crafting, certain tools are indispensable:
- Rolling pin – to flatten the clay
- Wire clay cutter – for slicing through clay
- Rib tool – for smoothing surfaces
- Sponge – to moisten and shape clay
- Needle tool – for detailed work
- Kiln – to fire finished pieces
Selecting The Right Clay
Selecting the perfect clay is a foundational step in this project. Consider these options:
| Type | Firing Temperature | Texture |
|---|---|---|
| Earthenware | Low | Smooth |
| Stoneware | Medium | Grainy |
| Porcelain | High | Fine |
Decorative Elements For Personalization
To add a personal touch, consider these decorative elements:
- Glazes – for color and shine
- Stamps – to imprint designs
- Oxides – for detailed accents
- Carving tools – for unique textures
Designing Your Cat Water Fountain
Embarking on the creation of a ceramic cat water fountain? Begin with designing a masterpiece that’s both visually appealing and thoroughly enjoyable for your feline friend. Here’s how to translate your ideas into a tangible, functional piece of art for your pet.
Sketching Your Creation
Start with a simple pencil and paper. Visualize the shape and size of your fountain, considering the space it will occupy. Think about platforms for your cat to perch on and the path the water will take. Each stroke of your sketch should bring the functional needs into alignment with your personal style.
Incorporating Functional And Aesthetic Elements
Balance practicality with beauty. Choose a design that prevents water splashing and ensures a quiet, soothing trickle. Think about adding elements like a filtration system. Use textures and colors that entice your cat while also complementing your home’s decor.
Ensuring Cat Safety And Comfort
Make safety and comfort the top priorities. Smooth edges and non-toxic materials are a must to keep your pet safe. Consider the height and accessibility to make sure it’s a perfect match for your cat’s stature and behavior preferences.

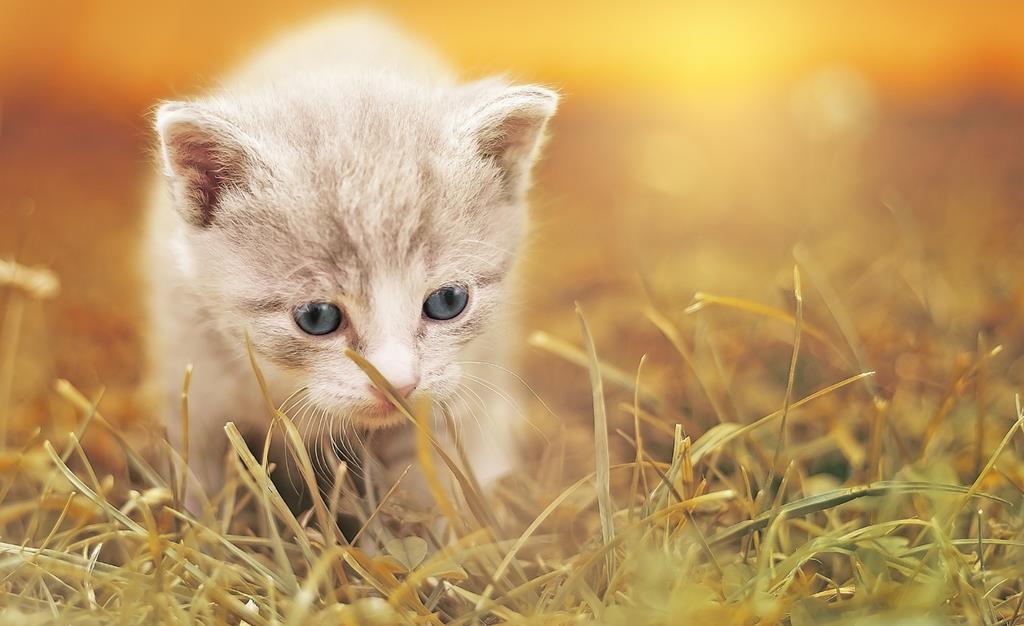
Credit: www.amazon.com
The Crafting Process
Welcome to the enchanting world of ceramic crafting, where you can bring a touch of handmade elegance to your feline friend’s day-to-day life. Crafting a ceramic cat water fountain not only serves as a functional piece for your pet but also becomes a captivating ornament for your home. Let’s dive into the step-by-step process to mold, fire, and glaze your very own ceramic masterpiece.
Molding Your Fountain
Creating the shape of your cat water fountain begins with a block of clay. Start by kneading the clay to remove air bubbles, ensuring a smooth consistency. Once kneaded, roll out the clay to an even thickness. For the fountain’s base, use a template or draw a freehand circle and cut it out. Build the walls by coiling or slab building and attach them securely to the base. Shape a spout for the water to flow and add any creative touches or textures to personalize your design.
Bisque Firing: The First Kiln Cycle
After shaping, your fountain needs to dry thoroughly. This can take several days. Once dry, it’s time for bisque firing, which is the initial kiln cycle. This step hardens the clay, transforming it into ceramic. Place your piece inside the kiln and fire it up to 1,830 degrees Fahrenheit (or 1,000 degrees Celsius). This will prepare the fountain for glazing.
Adding Glaze For Durability And Style
Glazing not only makes your fountain water-resistant but also allows you to add color and shine. Select a glaze that is safe for pets. Carefully apply the glaze to your bisque-fired fountain with a brush, ensuring an even coat. Avoid glazing the bottom of the piece, as this can stick to the kiln shelf during the final firing. Once the glaze dries, your fountain goes through one last kiln cycle, also known as glaze firing, usually higher in temperature than the bisque firing.
Through these steps, the transformation from a simple lump of clay to a sleek, functional water fountain for your cat is complete. Enjoy the pride that comes with crafting a unique item that promotes hydration and brings joy to your pet.
Assembling The Waterworks
Welcome to the heart of your DIY project: Assembling the Waterworks for your ceramic cat water fountain. This part will bring life to your creation, ensuring that fresh water flows for your feline friend. Follow these steps and you’ll have a working fountain in no time!
Choosing The Pump System
The pump system is the engine of your fountain. When selecting, consider:
- Size: It must fit inside your ceramic base.
- Power: Ensure it’s strong enough to circulate water.
- Noise: Aim for a whisper-quiet operation.
Waterproofing Your Fountain
Securing the fountain against leaks is crucial. Apply silicone sealant at every joint. Let it dry for 24 hours. Check for any missed spots. Confirm waterproof status with a test run using plain water.
Testing Flow And Filtration
Maintaining clean water is vital. Integrate a filter system into the pump. Turn on the fountain. Observe the water stream. Adjust the pump settings to achieve a gentle flow suitable for cats. Verify that the filtration system keeps the water clean over time.
Final Touches And Maintenance
With your ceramic cat water fountain nearly complete, the Final Touches and Maintenance stage ensures long-lasting delight. Proper polishing, adding whimsical designs, and scheduled cleaning will keep your fountain pristine and appealing. Moreover, addressing any operational glitches promptly will preserve its soothing murmur for years to come.
Polishing And Aesthetic Enhancements
A well-polished fountain gleams, drawing cats and compliments alike. Use non-toxic sealants for a glossy finish. Embellish your creation with water-safe paints or mosaics for that personal touch. Ensure your enhancements do not compromise the fountain’s function. Follow these steps:
- Wipe the surface clean before applying any polish or paint.
- Apply a thin, even coat of sealant and let dry.
- Embellish with design elements if desired, then seal again.
Cleaning And Care Tips
Regular cleaning ensures a healthy drinking source for your feline friend. Detach and clean all parts with mild soap and warm water weekly. Avoid harsh chemicals to prevent damage to the ceramic. Here’s a checklist for proper care:
- Rinse the pump separately and remove any debris.
- Clean filters or replace as needed.
- Dry all parts thoroughly before reassembly.
Troubleshooting Common Issues
Occasionally, you might face some hiccups with your water fountain. Simple fixes can remedy common issues. Is the pump noisy or the water flow weak? Check the pump and filter; they might need cleaning. If leaks occur, ensure all components are securely sealed. Refer to the manufacturer’s guide for specific troubleshooting advice. Remember, quick fixes prevent bigger problems!
| Issue | Solution |
|---|---|
| Pump Noise | Clean or replace the pump. |
| Weak Water Flow | Check for clogs in the pump or filter. |
| Leaks | Ensure all connections are tight and sealed. |
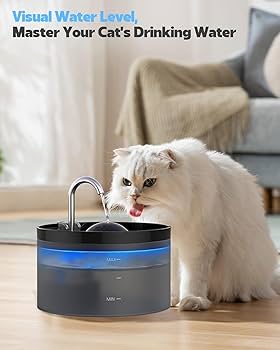
Credit: www.walmart.com
Frequently Asked Questions On How To Make A Ceramic Cat Water Fountain
What Materials Are Needed For A Ceramic Cat Fountain?
To create a ceramic cat water fountain, you will need clay, ceramic glaze, a pottery wheel, sculpting tools, a kiln for firing, a water pump, and tubing. Choose non-toxic, pet-safe materials to ensure your cat’s health.
How Do You Sculpt A Cat Fountain From Clay?
Begin by kneading your clay on a pottery wheel to form the base shape. Using sculpting tools, add details and carve out the water path. Allow the sculpture to dry before the first firing, followed by glazing and a second firing.
Can You Add A Filter To A Homemade Cat Fountain?
Yes, a filter can be incorporated into a homemade cat fountain. Choose a small, submersible pump with a filter compartment. Install the pump in the fountain’s reservoir, ensuring it’s adequately concealed but easily accessible for maintenance.
What Are The Steps To Glaze A Ceramic Fountain?
Once bisque-fired, apply a coat of pet-safe ceramic glaze to the fountain. Use brushes or dipping methods for an even coat. Allow the glaze to dry before placing the piece in the kiln for the final firing.
Conclusion
Crafting your own ceramic cat water fountain can be a rewarding DIY project. By following the steps outlined, you’ll create not just a functional piece but also an aesthetic addition to your home. Remember, patience and creativity are key. Share your masterpiece with us and inspire fellow cat enthusiasts!