To fix a Cat Sensor Fault on a Litter Robot 3, first try power cycling the unit and ensuring the globe is correctly aligned. Clean the sensors to remove any debris that may be interfering with their operation.
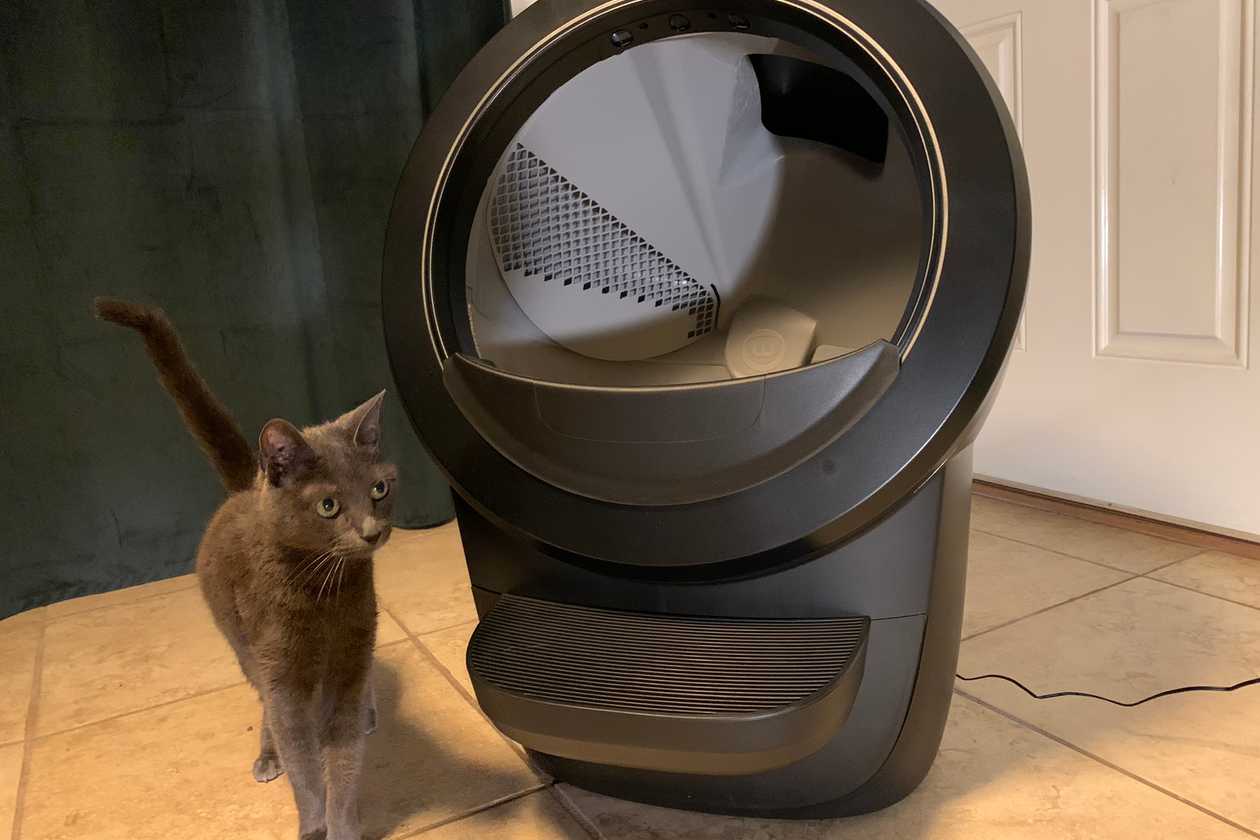
Experiencing issues with your Litter Robot 3 can be frustrating, especially when it comes to the critical Cat Sensor. A Cat Sensor Fault prevents the unit from functioning properly, as it relies on these sensors to detect when your cat has used the litter box and when it’s time to cycle.
Modern cat owners value this state-of-the-art litter solution for its hands-free operation and the peace of mind it offers, but like any sophisticated technology, troubleshooting is sometimes necessary. Addressing a sensor malfunction promptly can ensure your automated cleaning system remains reliable and effective, keeping your home odor-free and your cat content. With quick action and proper maintenance, most sensor issues can be resolved, restoring the Litter Robot 3 to its fully operational state.
Troubleshooting The Cat Sensor Fault
Troubleshooting the Cat Sensor Fault in your Litter Robot 3 can transform a frustrating experience into a simple fix. It’s essential to your furry friend’s comfort and your convenience. Let’s tackle the error head-on with practical steps!
Identifying The Error Message
Knowing what the display is telling you is the first step. The Litter Robot 3 has a blue flashing light to indicate a Cat Sensor Fault. This means the unit thinks there’s a cat inside when there isn’t.
Common Causes For Cat Sensor Issues
Several factors can trigger sensor troubles. Identifying them helps resolve issues quickly. Here’s a list and how to fix each one:
- Dirt or Litter Build-Up: Clean sensor areas regularly.
- Dislodged Weight Sensor: Ensure the weight sensor is in place.
- Electrical Malfunctions: Check for loose wires or reset the unit.
Don’t let sensor faults disrupt your pet’s routine. Use these simple yet effective troubleshooting tips, and keep your Litter Robot 3 functioning flawlessly.
Credit: www.reddit.com
Initial Quick Fixes
Welcome to the ‘Initial Quick Fixes’ for your Cat Sensor Fault Litter Robot 3. Before reaching out for professional help, perform these simple troubleshooting steps. These fixes can save you time and restore your robot to its usual self in no time. Let’s walk through the basics:
Power Cycle The Litter Robot 3
The easiest fix to start with is a power cycle. Just like rebooting a computer, this can clear minor glitches. Here’s how:
- Turn off the unit using the power button.
- Wait for about 15 seconds.
- Turn on the unit to reset the system.
Repositioning The Litter
Sometimes, the litter distribution can affect sensors. To fix:
- Remove the globe from the base.
- Even out the litter by shaking the globe gently.
- Replace the globe ensuring proper seating.
Checking For Obstructions
Blocked sensors can cause false readings:
- Inspect the globe for any stuck clumps.
- Clear out waste drawer of overflow.
- Ensure no debris is blocking sensors.
Adjusting The Cat Sensor
Is your Litter Robot 3 not sensing your furry friend correctly? Adjusting the cat sensor ensures the unit operates safely and effectively. Learn to locate and calibrate this crucial component in just a few steps.
Locating The Cat Sensor
The cat sensor in your Litter Robot 3 is a weight-sensitive component that detects your cat’s presence. To find it:
- Power off the unit for safety.
- Remove the globe section and look towards the base.
- The sensor is under the waste drawer.
Visible as a small, rectangular box, the cat sensor interacts with your cat’s weight to start the cleaning cycle.
Calibrating The Weight Sensor
Correct calibration of the weight sensor is essential for accurate readings. Here’s how to calibrate it:
- Ensure the Litter Robot is empty and clean.
- Power on the unit and select ‘reset’ from the control panel.
- Wait for the unit to cycle and stop.
After calibration, the sensor should properly detect your cat’s weight. If issues persist, check user manual guidelines or contact support. Proper sensor calibration can prevent unwanted operation and ensure your cat’s safety.

Credit: www.youtube.com
Deep Cleaning The Unit
Keeping your Litter Robot 3 functional means regular maintenance. To ensure peak performance, deep cleaning is key.
Your Litter Robot 3 relies on sensors for operation. Dirt hinders sensor function.
Removing Obstructions
- Power off the unit before cleaning
- Remove waste drawer; check for clumps
- Use a soft cloth to gently wipe sensors
- Check for stuck litter; remove carefully
Regular sensor checks prevent faults. Monthly cleaning is ideal.
Safe Cleaning Agents
- Use mild, pet-safe cleaners
- Mix water and vinegar for a natural solution
- Avoid harsh chemicals; they can damage sensors
After cleaning, allow sensors to dry completely.
Gentle Handling
- Don’t disassemble the sensors
- Handle wires with care; don’t tug
- Pat areas dry, never rub harshly
Forceful cleaning can lead to damage. Treat parts with care.
Prevent Moisture Damage
- Ensure everything is dry before reassembly
- Check seals for proper placement
- Avoid water entering electronic areas
Dampness causes sensor errors. Thorough drying is crucial.
Adhere to these steps and your cleaning routine will keep your Litter Robot 3 sensors fault-free!
When To Contact Customer Support
Encountering a cat sensor fault in your Litter Robot 3 can be frustrating. Knowing precisely when to reach out to customer support is essential. This post guides you through that process.
Assessing The Situation
Identify the issue at hand before contacting support. Note the error messages or irregular behaviors of your Litter Robot 3. Common signs of sensor faults include:
- Litter Robot not cycling
- Flashing lights on the unit
- Unresponsive control panel
Try basic troubleshooting such as:
- Power cycling the device
- Checking for blockages
- Ensuring litter levels are correct
Record these details to share with the support team.
Warranty And Support Options
Before reaching out, verify the warranty status of your Litter Robot 3. This information is vital for determining the available support options. Review your user manual or check online with your model’s serial number.
| Warranty Status | Next Steps |
|---|---|
| Under warranty | Contact customer support for a possible free repair or replacement. |
| Out of warranty | Inquire about paid repair options or advice on fixing the issue. |
Support contact methods include toll-free numbers, live chat, email, or through the company’s website. Always provide your unit’s details and the problem description.
If your troubleshooting attempts fail and your warranty status does not bar support, contact the Litter Robot customer support for professional assistance.

Credit: www.reddit.com
Preventative Measures For Future
No one enjoys dealing with a malfunctioning Litter-Robot 3. To prevent future hiccups, it’s crucial to follow some proactive steps. Regular maintenance and sensor health best practices can save the day. Let’s dive into some tips that will keep your device running smoothly.
Regular Maintenance Tips
Maintaining your Litter-Robot 3 need not be a chore. Pay attention to these tips:
- Clean the waste drawer regularly to avoid overfilling.
- Inspect the charging ports and make sure they are debris-free.
- Wipe down the sensors with a soft, dry cloth to keep them functioning well.
- Lubricate the gears and moving parts semi-annually with white lithium grease.
- Check and replace carbon filters to control odors effectively.
Sensor Health Best Practices
Sensors are the eyes of your Litter-Robot 3. They need tender, loving care:
- Keep sensors free from litter dust and grime
- Avoid harsh chemicals that could damage sensor surfaces
- Follow the manufacturer’s guidelines for sensor care
- Test the sensors post-cleaning to ensure proper functionality
- Contact support if sensors consistently show faults after cleaning
Frequently Asked Questions Of How To Fix Cat Sensor Fault Litter Robot 3
What Is A Cat Sensor Fault In Litter Robot 3?
A Cat Sensor Fault in Litter Robot 3 indicates the unit cannot detect when the cat enters or exits. This prevents automatic cycling. The issue may stem from sensor blockages or system malfunctions needing reset or cleaning for resolution.
How Can I Reset My Litter Robot 3?
To reset your Litter Robot 3, turn the unit off and wait a few seconds. Turn it back on while ensuring it’s level and empty. This can often fix minor glitches, including sensor issues, by rebooting the system.
Are Cat Sensor Fault Fixes Diy-friendly?
Yes, many Cat Sensor Fault fixes for the Litter Robot 3 are DIY-friendly. Simple solutions include cleaning sensors, checking for obstructions, or resetting the unit. More complex issues may require customer support or professional repair.
Can A Full Waste Drawer Cause Cat Sensor Fault?
Sometimes, a full waste drawer in Litter Robot 3 can trigger the Cat Sensor Fault. Emptying the drawer and ensuring it’s properly seated can resolve the false alarm, allowing the unit to function correctly again.
Conclusion
Troubleshooting your Litter Robot 3 doesn’t have to be daunting. With the right steps, fixing a cat sensor fault is straightforward. Remember to stay patient and follow our guide closely. For further support, Litter Robot’s customer service is always there to help.
Your feline friend will be back to their automated, clean litter box in no time!