To fix a Cat Sensor Fault on a Litter Robot, first, try power cycling the unit and checking for any obstructions. If issues persist, inspect sensor wires for damage and ensure the litter box is level.
Owners of Litter Robots often appreciate the convenience of these automated self-cleaning litter boxes. Yet, sometimes technical difficulties arise, like the dreaded Cat Sensor Fault, which can disrupt your cat’s routine and the functionality of the unit. This error indicates that the sensors responsible for detecting your cat’s presence may be compromised.
Addressing this promptly ensures the continued hygiene of your cat’s environment and the reliability of your Litter Robot. Troubleshooting the cat sensor fault involves a few straightforward steps, which, when performed methodically, can restore your Litter Robot to perfect working order, keeping both feline and human members of the household happy.
Identifying Cat Sensor Faults
Is your Litter-Robot acting up? One common issue might be the cat sensor. This sensor ensures the safety of your feline friend but can cause hiccups if faulty. Let’s learn how to spot sensor troubles and fix your robot fast.
Recognizing Error Codes
Error codes are the Litter-Robot’s way of signaling a problem. The unit displays these codes through flashing lights. To understand what your device is telling you, consult the user manual’s code chart. Spotting the issue early can save time and stress.
Symptoms Of Malfunction
Motion-related mishaps often trace back to the cat sensor. Here are some signs:
- Litter-Robot stops mid-cycle: Might indicate sensor glitches.
- Constant cycling: Points towards a sensor not sensing correctly.
- No cycle after use: Can mean a faulty sensor not detecting your cat.
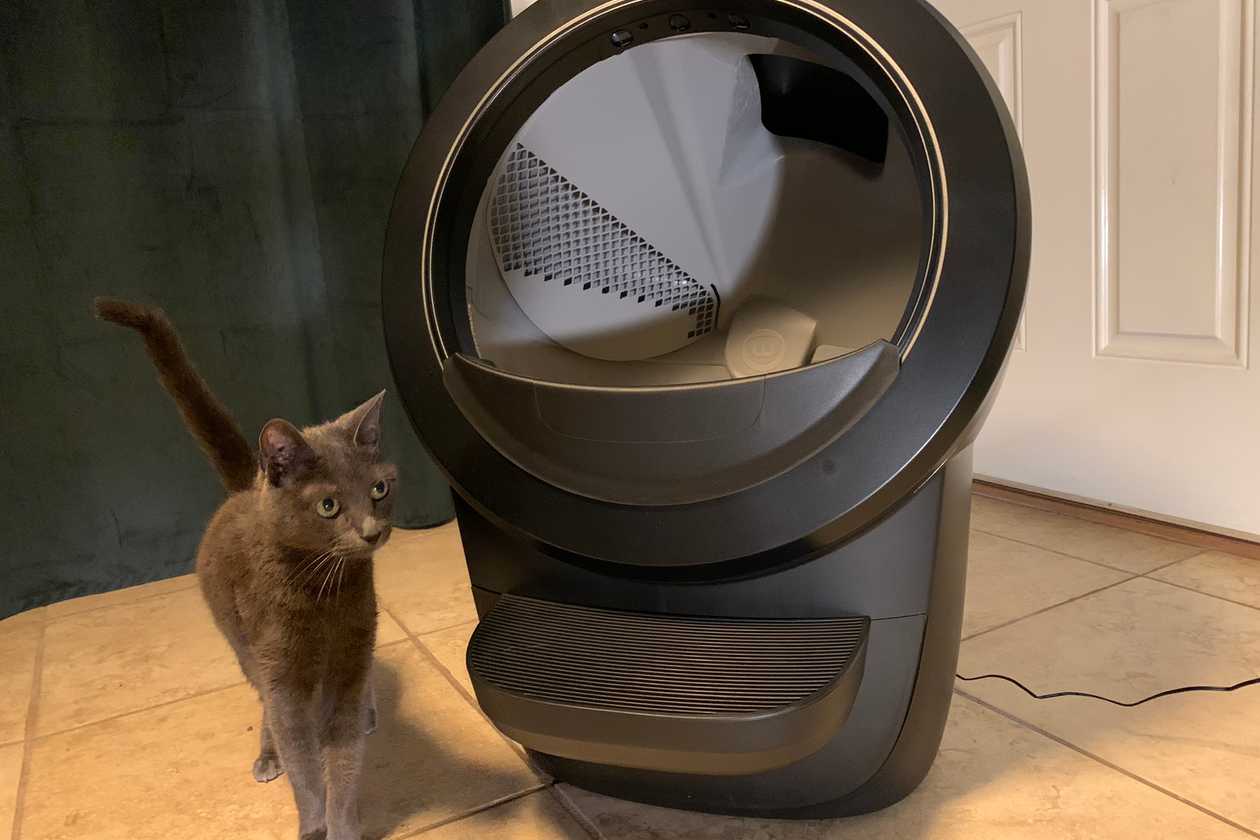
Physical checks also help. Ensure nothing blocks the sensor. Look for debris that might interfere with its operation. A clean sensor is a happy sensor!
Credit: www.reddit.com
Initial Troubleshooting Steps
Is your Litter-Robot acting up? A cat sensor fault can be a headache for any pet owner. Don’t worry! Before calling customer support or a technician, try these simple initial troubleshooting steps to fix the cat sensor fault in your Litter Robot.
Resetting The Litter Robot
To start, a quick reset can work wonders. Turning your unit off and on might just do the trick. Follow these steps:
- Power off your Litter-Robot and wait for about 15 seconds.
- Turn the power back on.
- Allow the unit to cycle until it returns to its home position.
Check if the error persists. If yes, move to the next step.
Checking The Power Supply
A stable power supply is crucial for your Litter-Robot’s performance. Ensure you’re using the original power adapter that came with your unit. Here’s how you can assess the power supply:
- Confirm the power adapter is plugged in firmly.
- Inspect the outlet with another device to ensure it’s working.
- Look for any visible damage to cords and connectors.
If you find any issues with the power supply, replacement may be necessary.
Cleaning And Maintenance Fixes
An often overlooked but crucial aspect of ensuring your Cat Sensor Fault Litter Robot operates efficiently is regular cleaning and maintenance. Dirt and obstructions can interfere with the sensors, causing malfunctions. Let’s discuss easy fixes you can do at home to keep the sensors in top condition.
Clearing Debris From Sensors
To keep your Litter Robot functioning smoothly, start by removing any visible debris or litter that might block the sensors. A soft, dry cloth works best for this task.
- Turn off the unit before cleaning.
- Gently wipe around the sensors.
- Avoid using water or cleaners to prevent sensor damage.
Avoid pushing down on the sensors, as this could misalign or damage them.
Routine Sensor Care
Regular sensor care ensures accuracy and longevity of your Litter Robot. Here are steps for a routine maintenance routine:
| Step | Action |
|---|---|
| 1 | Turn off and unplug the unit. |
| 2 | Inspect sensors for any buildup. |
| 3 | Use a can of compressed air to remove dust. |
| 4 | Wipe sensors with an electronics-safe cleaner. |
| 5 | Allow sensors to dry completely before restarting the robot. |
Maintain this schedule every few months or more frequently if needed, based on your cat’s usage patterns.

Credit: www.reddit.com
Sensor Adjustment Techniques
If your Litter Robot is on the fritz due to cat sensor faults, fret not! Sensor adjustment techniques can save the day. These are tried and true methods to help your Litter Robot recognize when your cat has paid a visit—without calling in the cavalry. Follow these steps and you’ll have your furry friend’s throne working like new in no time.
Calibrating The Cat Sensor
To calibrate the cat sensor, a straightforward process must be followed. This ensures the Litter Robot knows exactly when a cat has entered or exited. Here’s how:
- Switch off the unit.
- Press and hold ‘Cycle’ and ‘Reset’ buttons simultaneously.
- Keep holding until the unit power ups.
- The unit will enter calibration mode.
- After calibration, you should test it with a weight.
Replacing Worn-out Components
Sometimes, a simple calibration isn’t enough. Over time, the cat sensor can wear out. It’s essential to replace worn-out components. Follow these steps:
- Locate the cat sensor in your Litter Robot manual.
- Unscrew the cover carefully.
- Disconnect the old sensor and remove it.
- Secure the new sensor in place.
- Reassemble the unit and test its functionality.
Ensure you purchase the right replacement sensor compatible with your Litter Robot model.
Professional Repair Or Replacement
If your Litter Robot is blinking red or showing signs of a sensor fault, sometimes DIY tricks just don’t cut it. Professional help can ensure your machine functions perfectly again. Whether it’s repairing intricate electronic components or replacing a faulty unit, certified experts can diagnose and resolve problems that are beyond the scope of everyday troubleshooting.
When To Seek Expert Help
Complex issues require professional expertise. Strange noises, continuous error messages, and persistent sensor warnings after resetting are clear signs that it’s time to contact a specialist. Here are clear indicators:
- Alarm codes you can’t clear
- Mechanical parts not moving smoothly
- Repeated sensor failures even after cleaning
Warranty And Support Options
Before reaching out for repair, check your Litter Robot warranty. It may cover repairs or replacements. Here’s what to look for:
| Coverage | Duration | Contact |
|---|---|---|
| Parts and labor | 18 months | Manufacturer’s support line |
| Full replacement | Limited time | Customer care |
Contact customer support if unsure about your warranty status. They can offer assistance and advise on the best action steps.
Preventive Measures For Future
Well-functioning gadgets make life easier. Your Cat Sensor Fault Litter Robot is no exception. Keeping future malfunctions at bay involves simple steps. Let’s talk about how to maintain your litter robot effectively.
Regular Maintenance Schedule
Staying on top of care is key. Just like your car needs regular check-ups, your Litter Robot does too. Set reminders for maintenance tasks.
- Clean sensors weekly to avoid miscalculations.
- Examine and wipe down the inner globe monthly.
- Replace the carbon filter and the waste drawer liner as needed.
Use a simple checklist to track these tasks:
| Task | Frequency |
|---|---|
| Clean Sensors | Weekly |
| Inner Globe Check | Monthly |
| Carbon Filter Replacement | As Needed |
Awareness Of Common Issues
Know the signs of trouble. Recognizing issues early can save time and money.
Common signals that something’s wrong include:
- Strange noises during operation.
- Flash or beep error messages.
- Error reports on the app interface.
Refer to your manual for specific error codes. Keep it handy for quick checks.
Check parts regularly:
- Make sure the waste drawer is not full.
- Ensure the globe is seated correctly.
- Inspect for foreign objects that could jam the mechanism.

Credit: www.youtube.com
Frequently Asked Questions On How To Fix Cat Sensor Fault Litter Robot
What Causes A Litter Robot Cat Sensor Fault?
A Litter Robot cat sensor fault can be due to dirty sensors, obstructions, or a misaligned cat sensor. Regular maintenance and removing any blockages can often resolve the issue.
How Do I Reset My Litter Robot?
To reset your Litter Robot, turn it off, wait for a few seconds, and then turn it back on. This simple step can recalibrate the system and clear sensor faults.
Can I Fix The Cat Sensor Fault Myself?
Yes, you can often fix the cat sensor fault yourself by cleaning the sensors, checking for obstructions, or ensuring proper alignment. If the problem persists, consulting the manual or customer support is recommended.
Where Can I Find Litter Robot Troubleshooting Guides?
Litter Robot troubleshooting guides are available on the official Litter Robot website, in the user manual, or through their customer support. Online forums and YouTube may also offer helpful advice.
Conclusion
Confronting a cat sensor fault in your Litter Robot can be frustrating. Yet with patience and careful troubleshooting, solutions are within reach. Remember to stay calm, refer to the manual, and consider support from customer service if needed. With these tips, you and your feline friend will be back to effortless clean-up in no time.
Keep your Litter Robot running smoothly to ensure a happy home and a content cat.