A Litter-Robot may stop due to full waste drawers, dirty sensors, or motor issues. Regular maintenance and troubleshooting can often resolve these stops.
Understanding why your Litter-Robot stops functioning properly is key in ensuring a consistent, sanitary environment for your feline friends. This self-cleaning litter box, designed to simplify pet care, can experience hiccups that disrupt its automatic cleaning cycle. Homeowners find the Litter-Robot an innovative solution, but like all tech gadgets, it requires some attention to keep it running smoothly.
Identifying common problems and knowing how to address them quickly will help maintain the device’s efficiency and prolong its lifespan. Proper care ensures that the Litter-Robot remains a convenient and reliable aid in pet maintenance.

Credit: www.armandhammer.com
Common Issues Causing Litter Robot Halt
Is your Litter Robot stopping unexpectedly? You’re not alone. This innovative tool makes cat care easier, but it can have hiccups. We’ll explore the common issues that may cause your Litter Robot to pause its duty, ensuring you and your furry friend can rely on its convenience without interruptions.
Dirty Sensors Triggering False Stops
The Litter Robot has smart sensors to know when to clean. Dirty sensors may misread and stop the cycle. The solution can be simple:
- Clean the sensors regularly with a soft cloth.
- Avoid using harsh chemicals that could damage them.
Overfilled Waste Bin Interruptions
Too much waste in the bin can also stop the Litter Robot. It can’t start a clean cycle if there’s no room for more clumps. Always keep an eye on:
- The level of waste in the bin.
- Empty the bin when it reaches the fill line.
Regular maintenance keeps the Litter Robot running smoothly. Check for these common issues to prevent unexpected stops. Your cat will thank you!

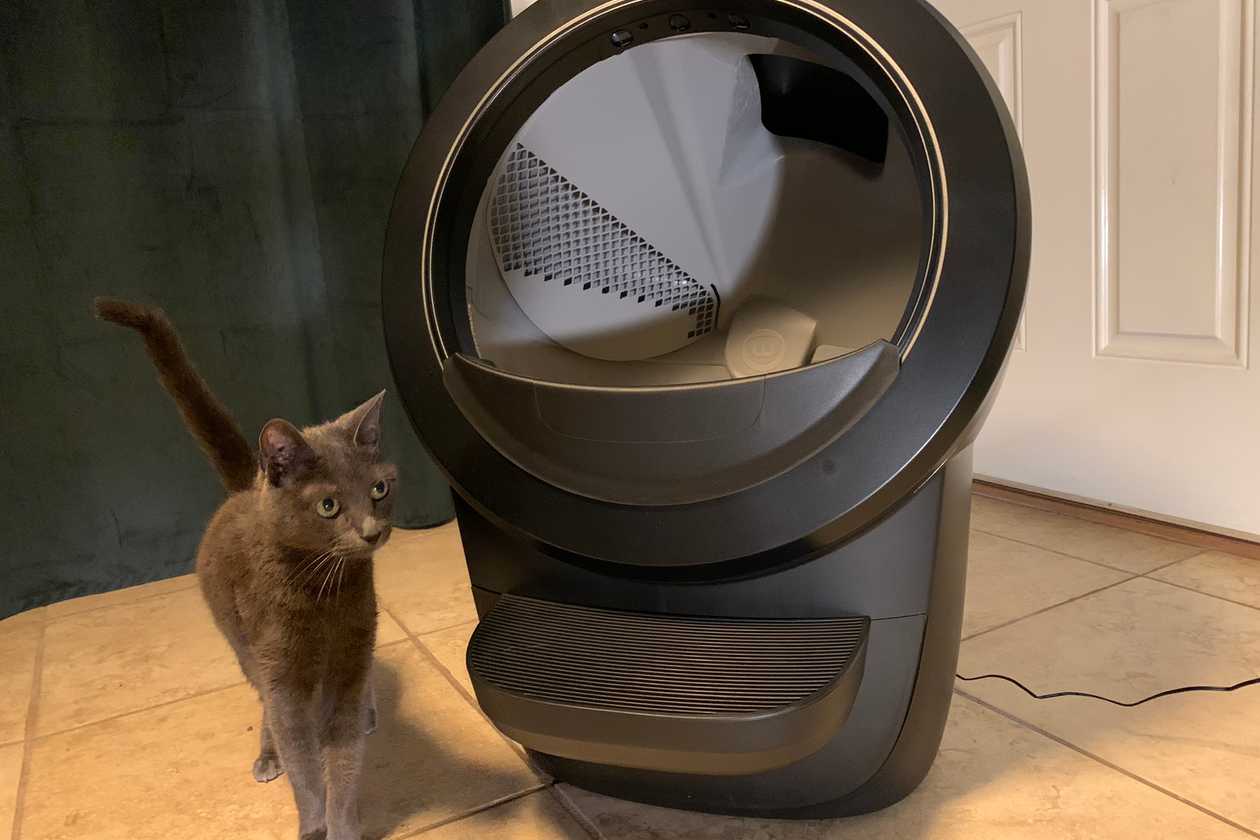
Credit: www.amazon.com
Troubleshooting Power And Connection Woes
For cat owners, the Litter Robot offers a convenient solution for cat waste management—until it starts stopping mid-cycle. Before you worry, most issues with your Litter Robot can be fixed with simple troubleshooting steps. This section covers the essentials to get your unit running smoothly again by focusing on power and connection problems.
Checking The Power Supply
When your Litter Robot stops working, it’s crucial to check the power supply first. A stable power source is key to consistent operation. Follow these steps to ensure your machine stays powered:
- Inspect the unit’s power cable for any visible damage or wear.
- Verify that the power adapter is correctly plugged into the wall outlet.
- Check for a lit-up power indicator on the Litter Robot, which signifies a live power connection.
- If you suspect a blown fuse or tripped breaker, examine your home’s electrical panel and reset if needed.
Ensuring Proper Electrical Connection
A steady electrical connection keeps the Litter Robot churning effectively. To make sure your connection is solid:
- Begin by unplugging the unit and waiting for a few minutes before reconnecting.
- Ensure the outlet is functional by plugging in another device.
- Restrict usage of extension cords, which can cause voltage drops and disrupt the operation.
- If you’re using a surge protector, test it with other electronics to rule out any faults there.
Remember to check your unit’s manual for device-specific guidance and tips.
Sensor Cleaning And Maintenance
Sensor cleaning is vital for your Litter Robot’s performance. Dirt or grime on the sensors can cause unexpected stops. Simple, regular maintenance ensures a seamless cycle and a happy cat.
Step-by-step Guide To Cleaning Sensors
Follow this easy guide to keep your Litter Robot working smoothly:
- Turn off your Litter Robot and unplug it for safety.
- Remove waste drawer and set aside.
- Locate sensors. Typically, they’re under the globe.
- Use a soft cloth and mild cleaner. Avoid harsh chemicals.
- Gently wipe away any debris or buildup on the sensors.
- Allow time to air-dry before reassembling.
- Reconnect power and turn on the unit to test functionality.
Regular cleaning mitigates stops and keeps your Litter Robot efficient.
Regular Maintenance To Prevent Sensor Malfunction
Consistent upkeep avoids sensor-related issues:
- Weekly checks and cleaning prevent buildup.
- Inspect wires and connections for any signs of wear or damage.
- Ensure the sensor area is free from litter spillage.
- Replace liners or filters as suggested by the manufacturer.
Embrace these habits for uninterrupted operation and a contented feline companion.
Diy Reset And Calibration Methods
Is your Litter Robot acting up, stopping midway through a cycle? Don’t worry. A simple reset or calibration might just be the solution. Most issues can be fixed at home with a few steps. Below, uncover the DIY methods to bring back the seamless operation of your Litter Robot.
Performing A Litter Robot Reset
Resetting can clear glitches. Follow these steps:
- Turn off the unit.
- Unplug the power supply for 30 seconds.
- Plug it back in.
- Turn the unit on.
- Press and hold the “Reset” button until you hear a beep.
This process will restart the system and often clear up any minor issues.
Calibration Process For Smooth Operation
Calibration helps the Litter Robot know when to stop. Here’s how:
- Empty the waste drawer first.
- Ensure the unit is level and on a flat surface.
- Select the “Empty” mode to start calibration.
- Allow the globe to rotate 360 degrees.
- Once complete, the Litter Robot will return to Home position.
Note: Calibration is crucial for accurate cycle and sensor operation.
When To Seek Professional Help
Dealing with an uncooperative Litter Robot can be frustrating. Sometimes, troubleshooting at home doesn’t solve the problem. It’s essential to know when to call in the experts. Professional assistance can save time and ensure your Litter Robot works perfectly again.
Recognizing Unsolvable At-home Issues
Some malfunctions need expert knowledge. Look out for these signs:
- Repeated error messages despite troubleshooting
- Strange noises or smells coming from the unit
- Litter Robot stops mid-cycle and won’t reset
If these issues persist, professional help is necessary. Don’t attempt complex repairs. You could cause more damage.
Contacting Customer Support And Warranty Use
Customer support exists to help users. When home fixes fail, reach out:
- Prepare your unit’s details — model number, purchase date.
- Describe the problem clearly.
- Follow the support team’s guidance.
If your Litter Robot is under warranty, claiming it could save you money. Check your warranty terms and mention them when contacting support. You might get a free repair or replacement.
Credit: www.nytimes.com
Preventative Measures For Future
Preventative Measures for Future are vital to ensuring your Litter Robot operates seamlessly. Regular maintenance can prevent your Litter Robot from stopping unexpectedly. Implementing best practices and an upkeep schedule are proactive steps to avoid inconvenience and ensure your pet’s comfort and hygiene.
Best Practices For Litter Maintenance
For optimal Litter Robot performance, consistent litter maintenance is key. Below are the best practices:
- Choose the right litter type: Clumping litter works best with the Litter Robot.
- Keep litter at the right level: Not too high, not too low, for the Litter Robot to function properly.
- Clean waste drawer regularly: Empty it before it gets too full to maintain sanitation.
- Inspect for clumps: Occasionally check for any clumps that might be stuck.
- Check sensors: Sensors trigger the cleaning cycle, so keep them clean.
Upkeep Schedule To Avoid Downtime
Create an upkeep schedule for your Litter Robot to avoid stops in operation. Here’s a simple schedule to follow:
| Frequency | Upkeep Task |
|---|---|
| Daily | Check litter level and remove any large clumps manually. |
| Weekly | Wipe down sensors and the waste drawer area. |
| Monthly | Deep clean the entire unit. |
| Bi-Annually | Replace carbon filters and check for wear and tear on moving parts. |
Stick to this upkeep schedule to ensure your Litter Robot remains in tip-top condition.
Frequently Asked Questions On Litter Robot Keeps Stopping
Why Does My Litter Robot Stop Unexpectedly?
Your Litter Robot may stop due to a full waste drawer, sensor issues, or power supply problems. Regular maintenance and ensuring the unit is level can prevent unexpected pauses. Check the waste level and sensors for any obstructions as a first troubleshooting step.
What To Do When Litter Robot Won’t Reset?
Ensure your Litter Robot is correctly powered and the drawer isn’t full. If it won’t reset, try powering it off, waiting a few minutes, and turning it back on. If issues persist, consult the manual for a reset procedure or contact customer support for help.
How Do I Troubleshoot A Litter Robot Cycle Issue?
To troubleshoot cycling problems, check if the unit is clean and unobstructed. Verify the power supply is consistent and the waste drawer isn’t full. Clean sensors and make sure the Litter Robot is on level ground. Reference the user’s manual for specific cycle troubleshooting guidelines.
Is My Litter Robot Under Warranty For Stopping?
Most Litter Robots come with a warranty. If your unit keeps stopping, check your warranty period and terms. Contact the manufacturer with your proof of purchase to claim any eligible support or replacement if the problem persists.
Conclusion
Dealing with a halting Litter-Robot can be frustrating. Thankfully, troubleshooting common issues often restores functionality. Routine maintenance is key to ensuring your automatic litter box operates smoothly. For persistent problems, customer support is invaluable. Keep your furry friends happy and your Litter-Robot running without a hitch.